Published By Tuna Karslı, editorHow guides are checked
Why does a boat need painting?
A fibreglass hull is coated in , a coloured, glossy protective layer. Gelcoat protects the hull from UV radiation, water and mechanical wear. Over time gelcoat can fade, become scratched, crack or suffer impact damage. Minor problems can be addressed with polishing, but where gelcoat has become thin or is extensively damaged, repainting becomes necessary.
On timber boats paint provides both cosmetic appearance and structural protection. Wood that is not protected will absorb water, rot and lose its strength. Regular painting is the most critical maintenance item that determines a wooden boat’s service life.
On aluminium and steel hulls paint is the primary defence against corrosion. A bare metal surface in salt water will deteriorate rapidly.
Paint types: which product for which job?
Topsides paint (above the waterline) must resist sun, rain and abrasion. Two-part (2K) polyurethane paints deliver the highest gloss and durability; they require professional application. Single-part polyurethane paints are better suited to DIY work and give acceptable results. Alkyd-based paints are more economical but have lower durability and gloss life than 2K products.
bottom paint (below the waterline) prevents marine organisms from colonising the hull. This is a specialist area in its own right; antifouling selection depends on boat type, speed and operating region.
Primer is the bonding layer between the paint and the hull. Epoxy primer creates a moisture barrier; polyester primer is used for fairing and levelling. Painting without primer leads to adhesion problems and early peeling.
How is gelcoat renewal carried out?
Gelcoat renewal depends on the existing gelcoat’s condition. If the existing gelcoat is sound, polishing and a protective coating may be sufficient. If the gelcoat is thin with widespread cracking or blistering, complete stripping and re-application, or overpainting with a quality hull paint, is necessary.
Gelcoat is sprayed and requires a controlled environment (temperature, humidity, dust-free). For this reason gelcoat renewal is normally done professionally in a yard. Poor application, a coat that is too thick or too thin, insufficient cure time, incorrect catalyst ratio, causes early cracking and blistering.
Alternatively, the hull can be finished with a two-part polyurethane paint, which gives a similarly glossy and durable surface to gelcoat. Professional spray application gives the best result; roller application can also produce acceptable quality.
DIY painting: step by step
Step one is surface preparation, eighty percent of the job happens here. Old paint and gelcoat are removed with sanding and, where needed, chemical stripper. Cracks, hollows and impact marks are filled with a marine filler and faired smooth. The surface must be perfectly smooth, clean and dry; dust, grease or moisture will compromise the paint.
Step two is priming. At least two coats of epoxy primer are applied, allowing the manufacturer’s recommended curing and sanding time between coats.
Step three is the topcoat. Paint is thinned with the recommended amount of reducer. If applying by roller, use a thin foam roller and lightly tip each stroke with a brush to reduce bubbles and roller marks. Apply at least two finish coats.
Step four, after curing, is polishing and wax. Once the paint has fully hardened (from several days to several weeks depending on the product) a light polish improves gloss and a protective wax is applied.
When is professional painting necessary?
Professional painting should be chosen for large boats (above 10 metres), extensive damage, gelcoat renewal and after osmosis repair. Spray application requires a spray booth, the right environmental conditions and experience. The difference between professional and DIY is visible on close inspection: surface evenness, absence of orange-peel texture and consistency of film thickness all make a difference.
On small and medium-sized boats, above-waterline cosmetic repainting and antifouling renewal can be done successfully by a patient amateur. The secret is giving adequate time to surface preparation and not rushing the job.
Timing and environmental conditions
Ideal conditions for paint application: air temperature between 15 and 25 degrees Celsius, relative humidity below 60 percent, out of direct sunlight and sheltered from wind. Do not paint in very hot or very cold weather, in rain or under heavy dew.
The end of the winter storage period is the best time to paint. The boat is already ashore, the weather is warming and there is adequate curing time before the season begins. Scheduling painting before the season opens means launching with a clean, protected hull.
Disposing of paint and solvent waste properly is both a legal requirement and an environmental responsibility. Take waste to an approved collection point. Use a mask, gloves and protective goggles when sanding and painting.
Read next
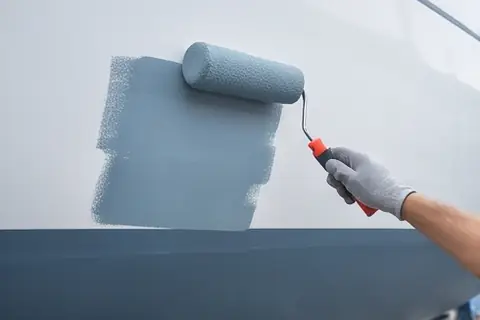 The 1979 Oil Crisis and Osmosis: Is There a Connection?The late 1970s and early 1980s are an important period in the history of fibreglass yacht…
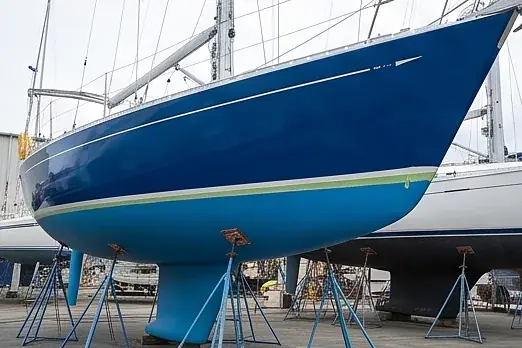 Antifouling: How to Choose the Right Paint and Apply It YourselfAntifouling is the one job almost every owner does every year or two, and it is…
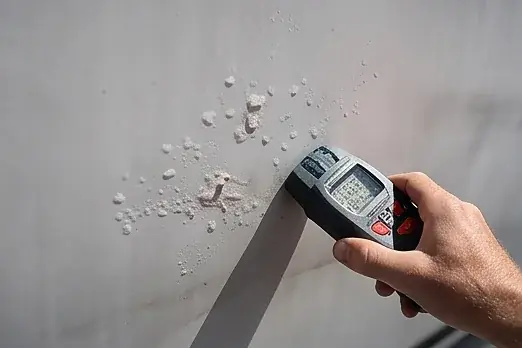 Osmosis on a Fibreglass Boat: How to Spot It and What It Really Costs to TreatFew words cause more nervous silence at a haul-out than "osmosis". Buyers walk away from boats…
Reader ratings
No ratings yet. Was this useful? Rate it and add what you know: corrections and first-hand tips help the next reader.
★ Rate this guide
Suggest a correction
Cite this page
Boat painting guide: gelcoat renewal, hull paint and step-by-step application. Boat Almanac, updated 22 October 2026. https://boatalmanac.com/articles/boat-painting-guide-gelcoat-renewal-hull-paint-and-step-by-step-application/ (accessed 21 November 2026).